Lighting serves as an important element in home design, influencing the ambiance, functionality, and overall aesthetics of a space. Whether you’re revamping your home décor or simply looking to enhance the lighting in specific areas, a DIY lighting installation project can bring about a transformative change. In this comprehensive blog post, we will walk you through the step-by-step process of how to install lighting fixtures at home, offering tips, insights, and safety precautions to ensure a successful and illuminating project.
Understanding Your Lighting Needs
Before diving into the installation process, it’s crucial to understand the lighting needs of each room or area. Consider the following factors:
- Purpose of Lighting: Identify the primary purpose of the lighting in each space. Is it for general illumination, task lighting, accent lighting, or a combination of these?
- Room Size and Layout: Take into account the size and layout of the room. Larger spaces may require multiple fixtures, while smaller areas may benefit from focused lighting.
- Ambiance and Style: Consider the overall ambiance you want to create and the style of your home decor. Different lighting fixtures contribute to various aesthetics, from modern and minimalist to classic and ornate.
- Energy Efficiency: Explore energy-efficient lighting options, such as LED bulbs, to reduce energy consumption and lower utility costs.
Tools and Materials
Before starting the installation process, gather the necessary tools and materials to ensure a smooth workflow. The specific tools required may vary depending on the type of lighting fixture you’re installing, but here are some general items you might need:
- Screwdriver (Phillips and flat-head)
- Wire stripper
- Voltage tester
- Drill
- Screws and anchors
- Wire connectors
- Wire nuts
- Ladder or step stool
Step-by-Step Guide to DIY Lighting Installation
Step 1: Turn Off the Power
Safety is paramount when working with electrical components. Before starting any installation, turn off the power to the circuit you’ll be working on at the circuit breaker. Use a voltage tester to ensure that the power is indeed off before proceeding.
Step 2: Assemble Your Lighting Fixture
If your lighting fixture requires assembly, follow the manufacturer’s instructions carefully. This may involve attaching brackets, installing bulbs, or adjusting components before mounting.
Step 3: Choose the Right Location
Determine the ideal location for your lighting fixture. Consider factors such as the room layout, the purpose of the lighting, and any existing electrical wiring. Ensure that the fixture is centered and provides adequate illumination for the space.
Step 4: Mark the Mounting Location
Using a pencil, mark the exact spot where you plan to mount the lighting fixture. If the fixture requires multiple mounting points, mark each location accordingly. This will serve as a guide for the installation process.
Step 5: Install the Mounting Bracket
For ceiling-mounted fixtures, install the mounting bracket according to the manufacturer’s instructions. Use a drill to create holes for the screws and anchors, then secure the bracket in place.
Step 6: Connect the Wiring
Carefully follow the manufacturer’s instructions to connect the wiring of your lighting fixture. This typically involves matching the colored wires and securing them with wire nuts. If the fixture has a ground wire, connect it to the ground wire in the electrical box.
Step 7: Secure the Fixture
Once the wiring is connected, carefully tuck the wires into the electrical box and secure the lighting fixture to the mounting bracket using screws provided by the manufacturer. Ensure that the fixture is stable and aligned with your markings.
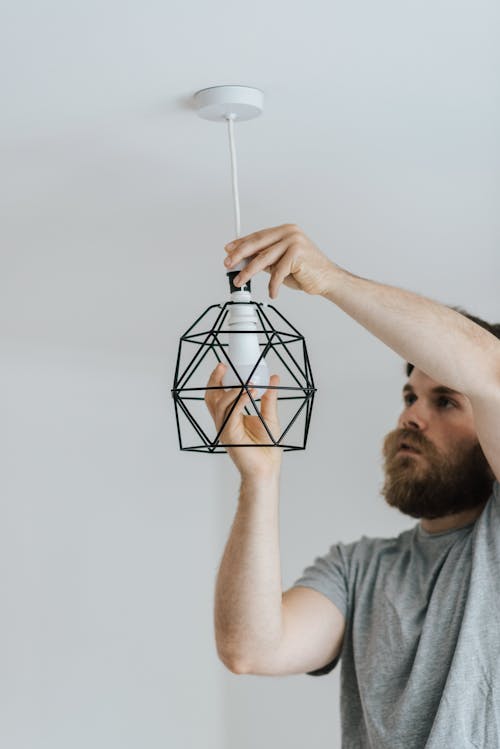
Step 8: Install Light Bulbs
If your lighting fixture requires light bulbs, install them according to the manufacturer’s specifications. Be cautious not to exceed the recommended wattage to prevent overheating.
Step 9: Turn On the Power and Test
Turn the power back on at the circuit breaker and test the lighting fixture. Ensure that the bulbs illuminate properly, and check for any flickering or issues. If everything is functioning correctly, your DIY lighting installation is complete.
Additional Tips for Successful Lighting Installation
- Read Manufacturer Instructions: Always carefully read and follow the manufacturer’s instructions provided with your lighting fixture. Each fixture may have specific requirements and installation steps.
- Consider Dimmer Switches: If you want to have control over the brightness of your lighting, consider installing dimmer switches. Ensure that your bulbs are compatible with dimmer switches.
- Use a Voltage Tester: Before handling any wiring, use a voltage tester to confirm that the power is off. This extra precautionary step is crucial for your safety.
- Choose the Right Bulbs: Select bulbs based on the ambiance and functionality you desire. Consider factors such as color temperature, brightness, and energy efficiency.
- Secure Wiring Neatly: Neatly secure the wiring inside the electrical box to avoid any entanglements or interference with moving parts of the lighting fixture.
- Seek Professional Help if Needed: If you’re unsure about any aspect of the installation or if it involves complex wiring, it’s advisable to seek professional assistance to ensure safety and compliance with electrical codes.
Conclusion: Transforming Spaces with DIY Lighting
In conclusion, DIY lighting installation is a rewarding and transformative project that can breathe new life into your home. From creating the right ambiance to enhancing functionality, the right lighting fixtures can make a significant difference. By understanding your lighting needs, following a systematic installation process, and prioritizing safety, you can successfully illuminate your space and enjoy the fruits of your DIY efforts. Whether you’re updating an existing fixture or adding a new focal point to your home, DIY lighting installation empowers you to tailor your space to your unique preferences and style.